Add an external library
This guide walks you through adding an external library so Immich can show photos and videos that stay where they already are on disk. It assumes you are running Immich in Docker and that the files you want to access are stored on the same machine.
We'll use a concrete example throughout. Say you want to add these folders:
/home/user/old-pics: a folder containing childhood photos./mnt/nas/christmas-trip: photos from a christmas trip. The subfolder/mnt/nas/christmas-trip/Rawcontains the raw files directly from the DSLR. We don't want to import the raw files to Immich./mnt/media/videos: videos from the same christmas trip.
First, plan how to organize the libraries. The christmas trip photos should belong to their own library since we want to exclude the raw files. The videos and old photos can be in the same library since we want to import all files. We could also add all three folders to the same library if there were no files matching the Raw exclusion pattern in the other folders.
Step 1 - Mount the directories into the containers
The immich-server container needs access to the gallery. Edit docker-compose.yml to add one or more mount points in the immich-server: section under volumes::
  immich-server:
    volumes:
      - ${UPLOAD_LOCATION}:/data
+     - /mnt/nas/christmas-trip:/mnt/media/christmas-trip:ro
+     - /home/user/old-pics:/mnt/media/old-pics:ro
+     - /mnt/media/videos:/mnt/media/videos:ro
+     - /mnt/media/videos2:/mnt/media/videos2 # WARNING: Immich will be able to delete the files in this folder, as it does not end with :ro
+     - "C:/Users/user_name/Desktop/my media:/mnt/media/my-media:ro" # import path in Windows system.
The ro flag at the end only gives read-only access to the volumes.
This will disallow the images from being deleted in the web UI, or adding metadata to the library (XMP sidecars).
Restart Immich by running docker compose up -d to register the changes, and make sure you can see the mounted path inside the container.
Step 2 - Create the library
External library management requires administrator access and the steps below assume you are using an admin account.
In the Immich web UI:
-
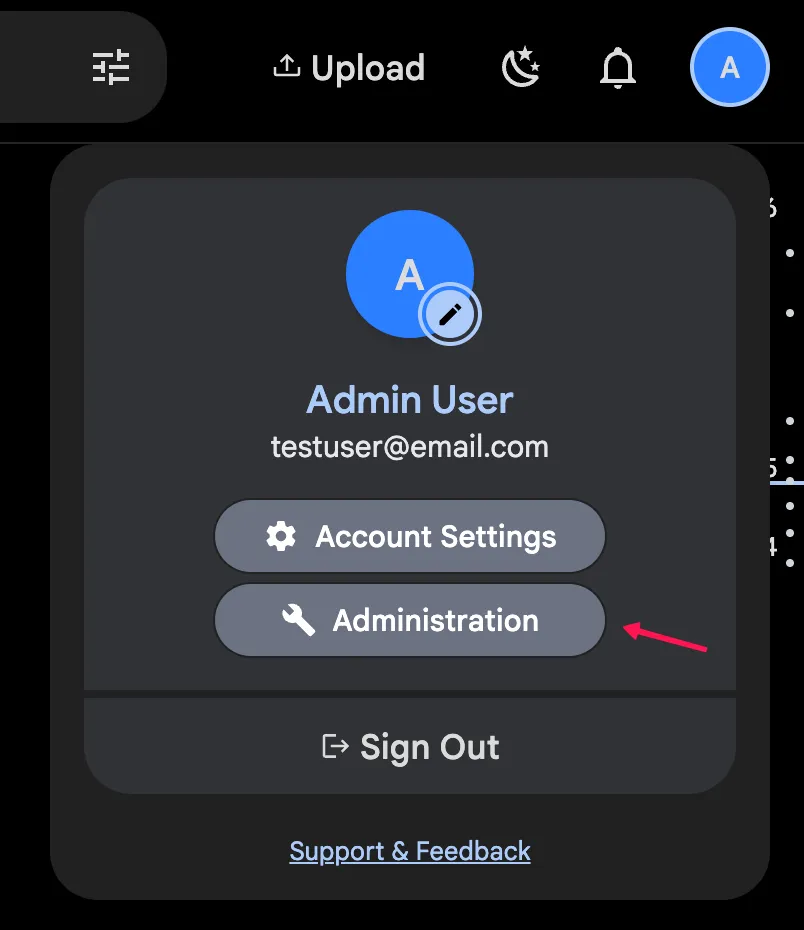
Click the Administration link in the upper right corner.
-
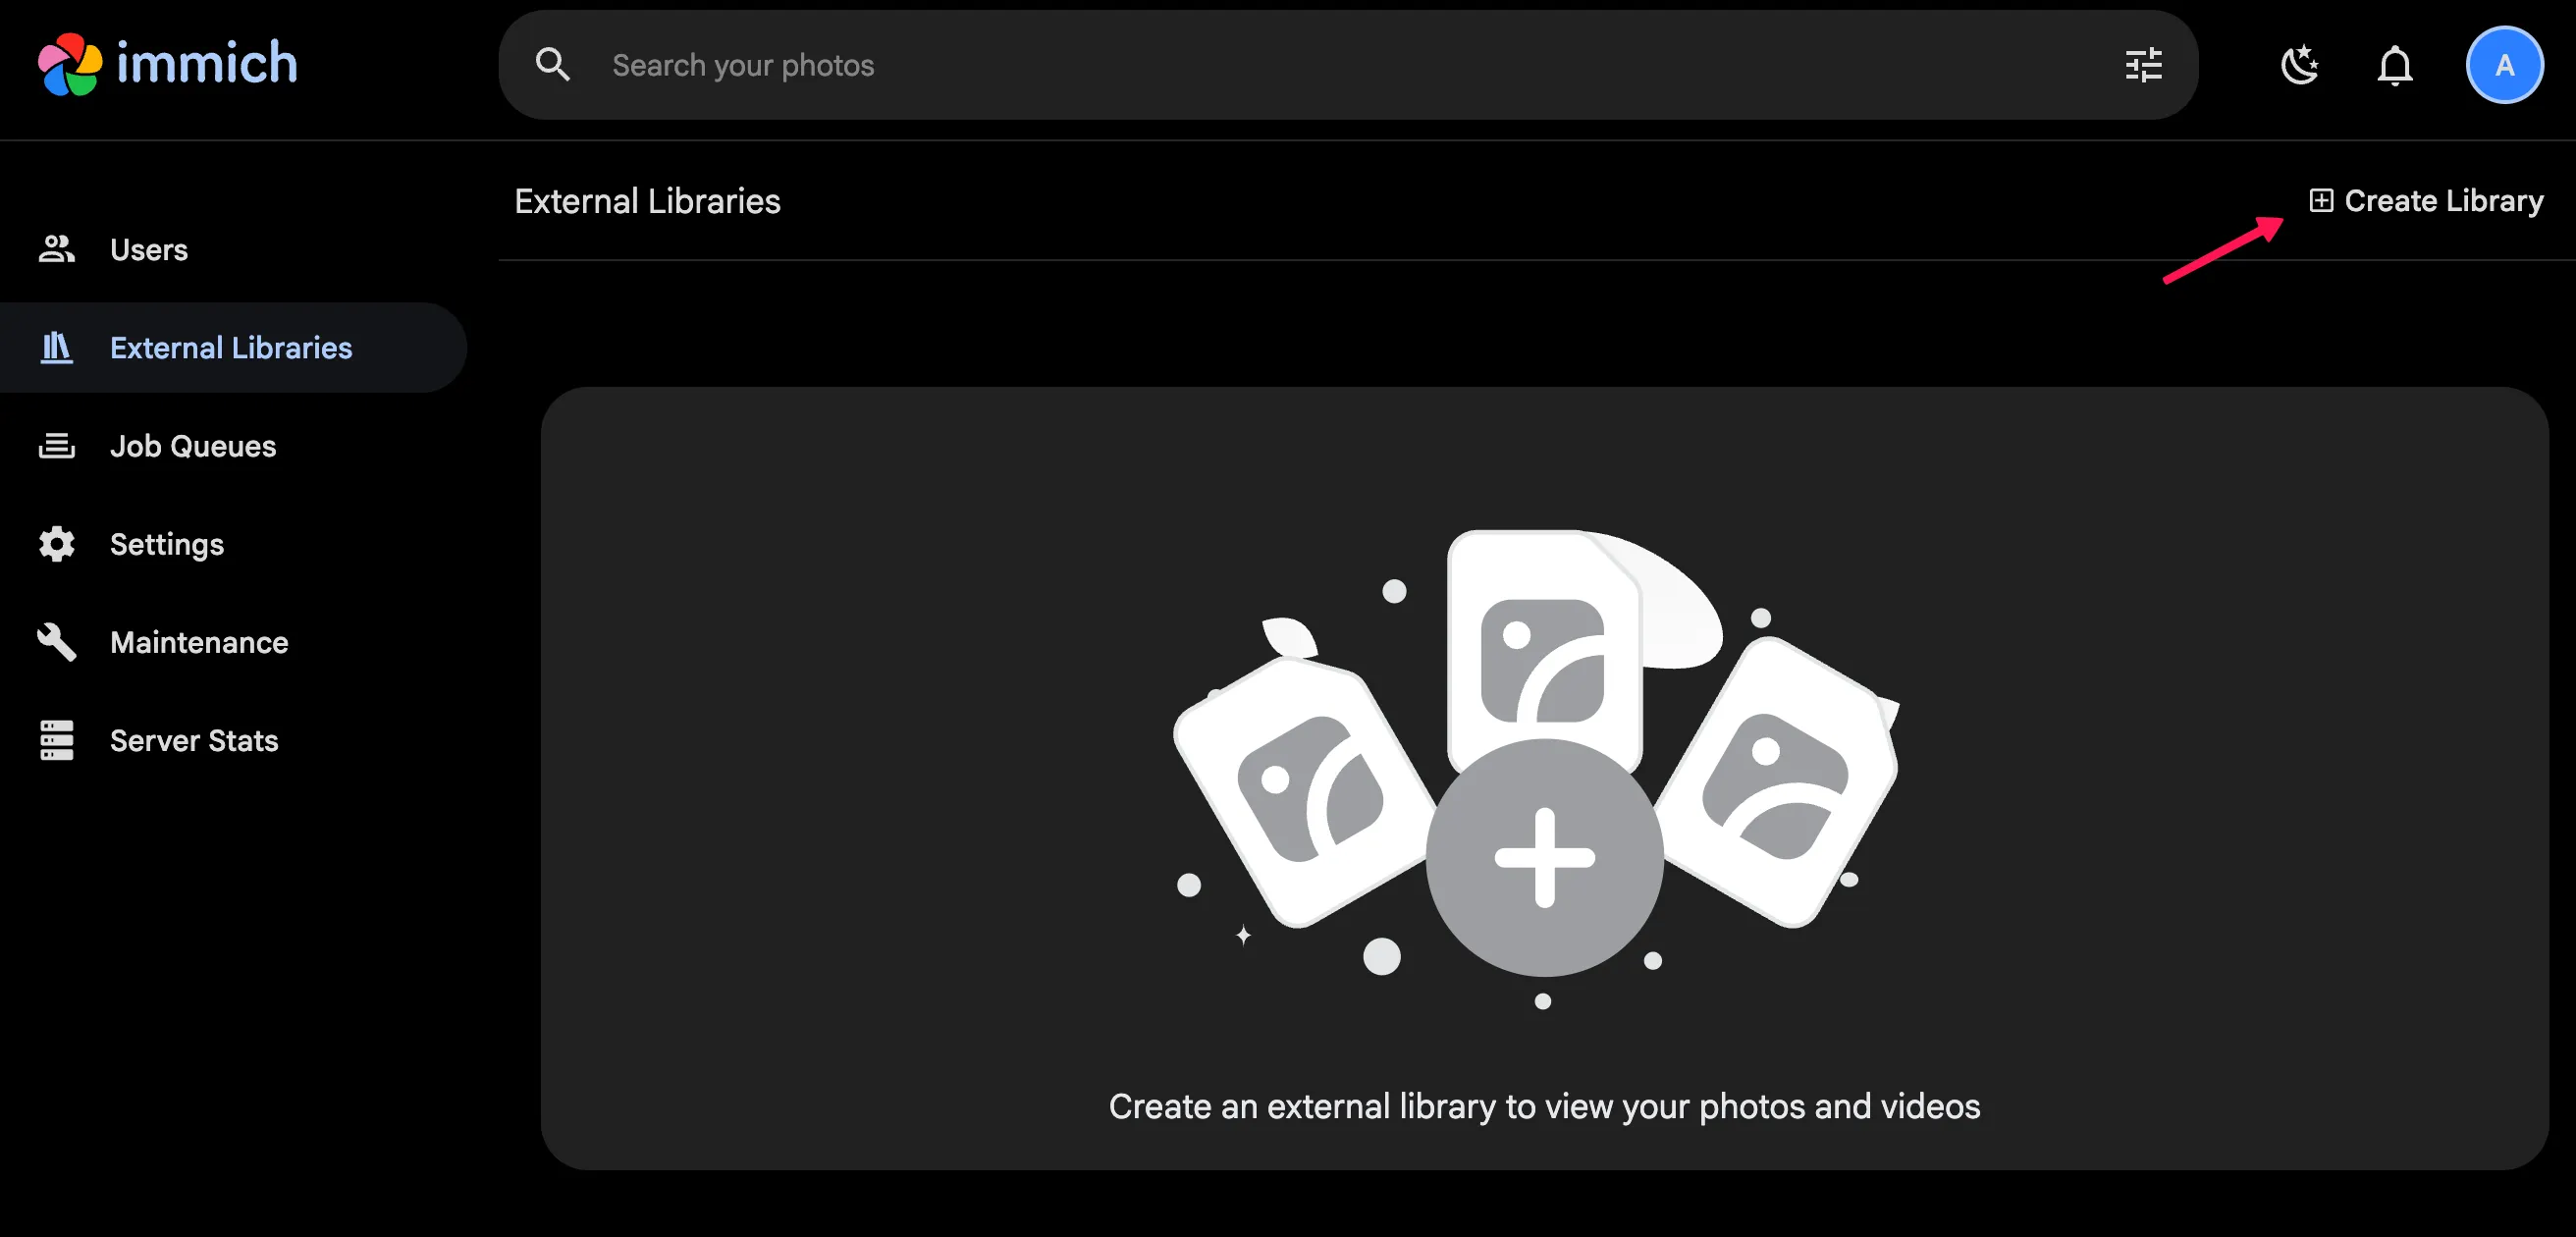
Select the External Libraries tab and click the Create Library button.
-
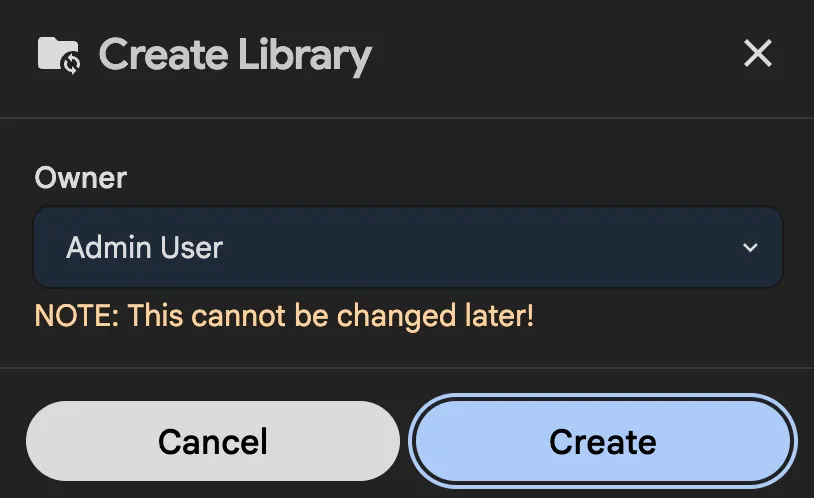
In the dialog, select which user should own the new library. This can not be changed later.
-
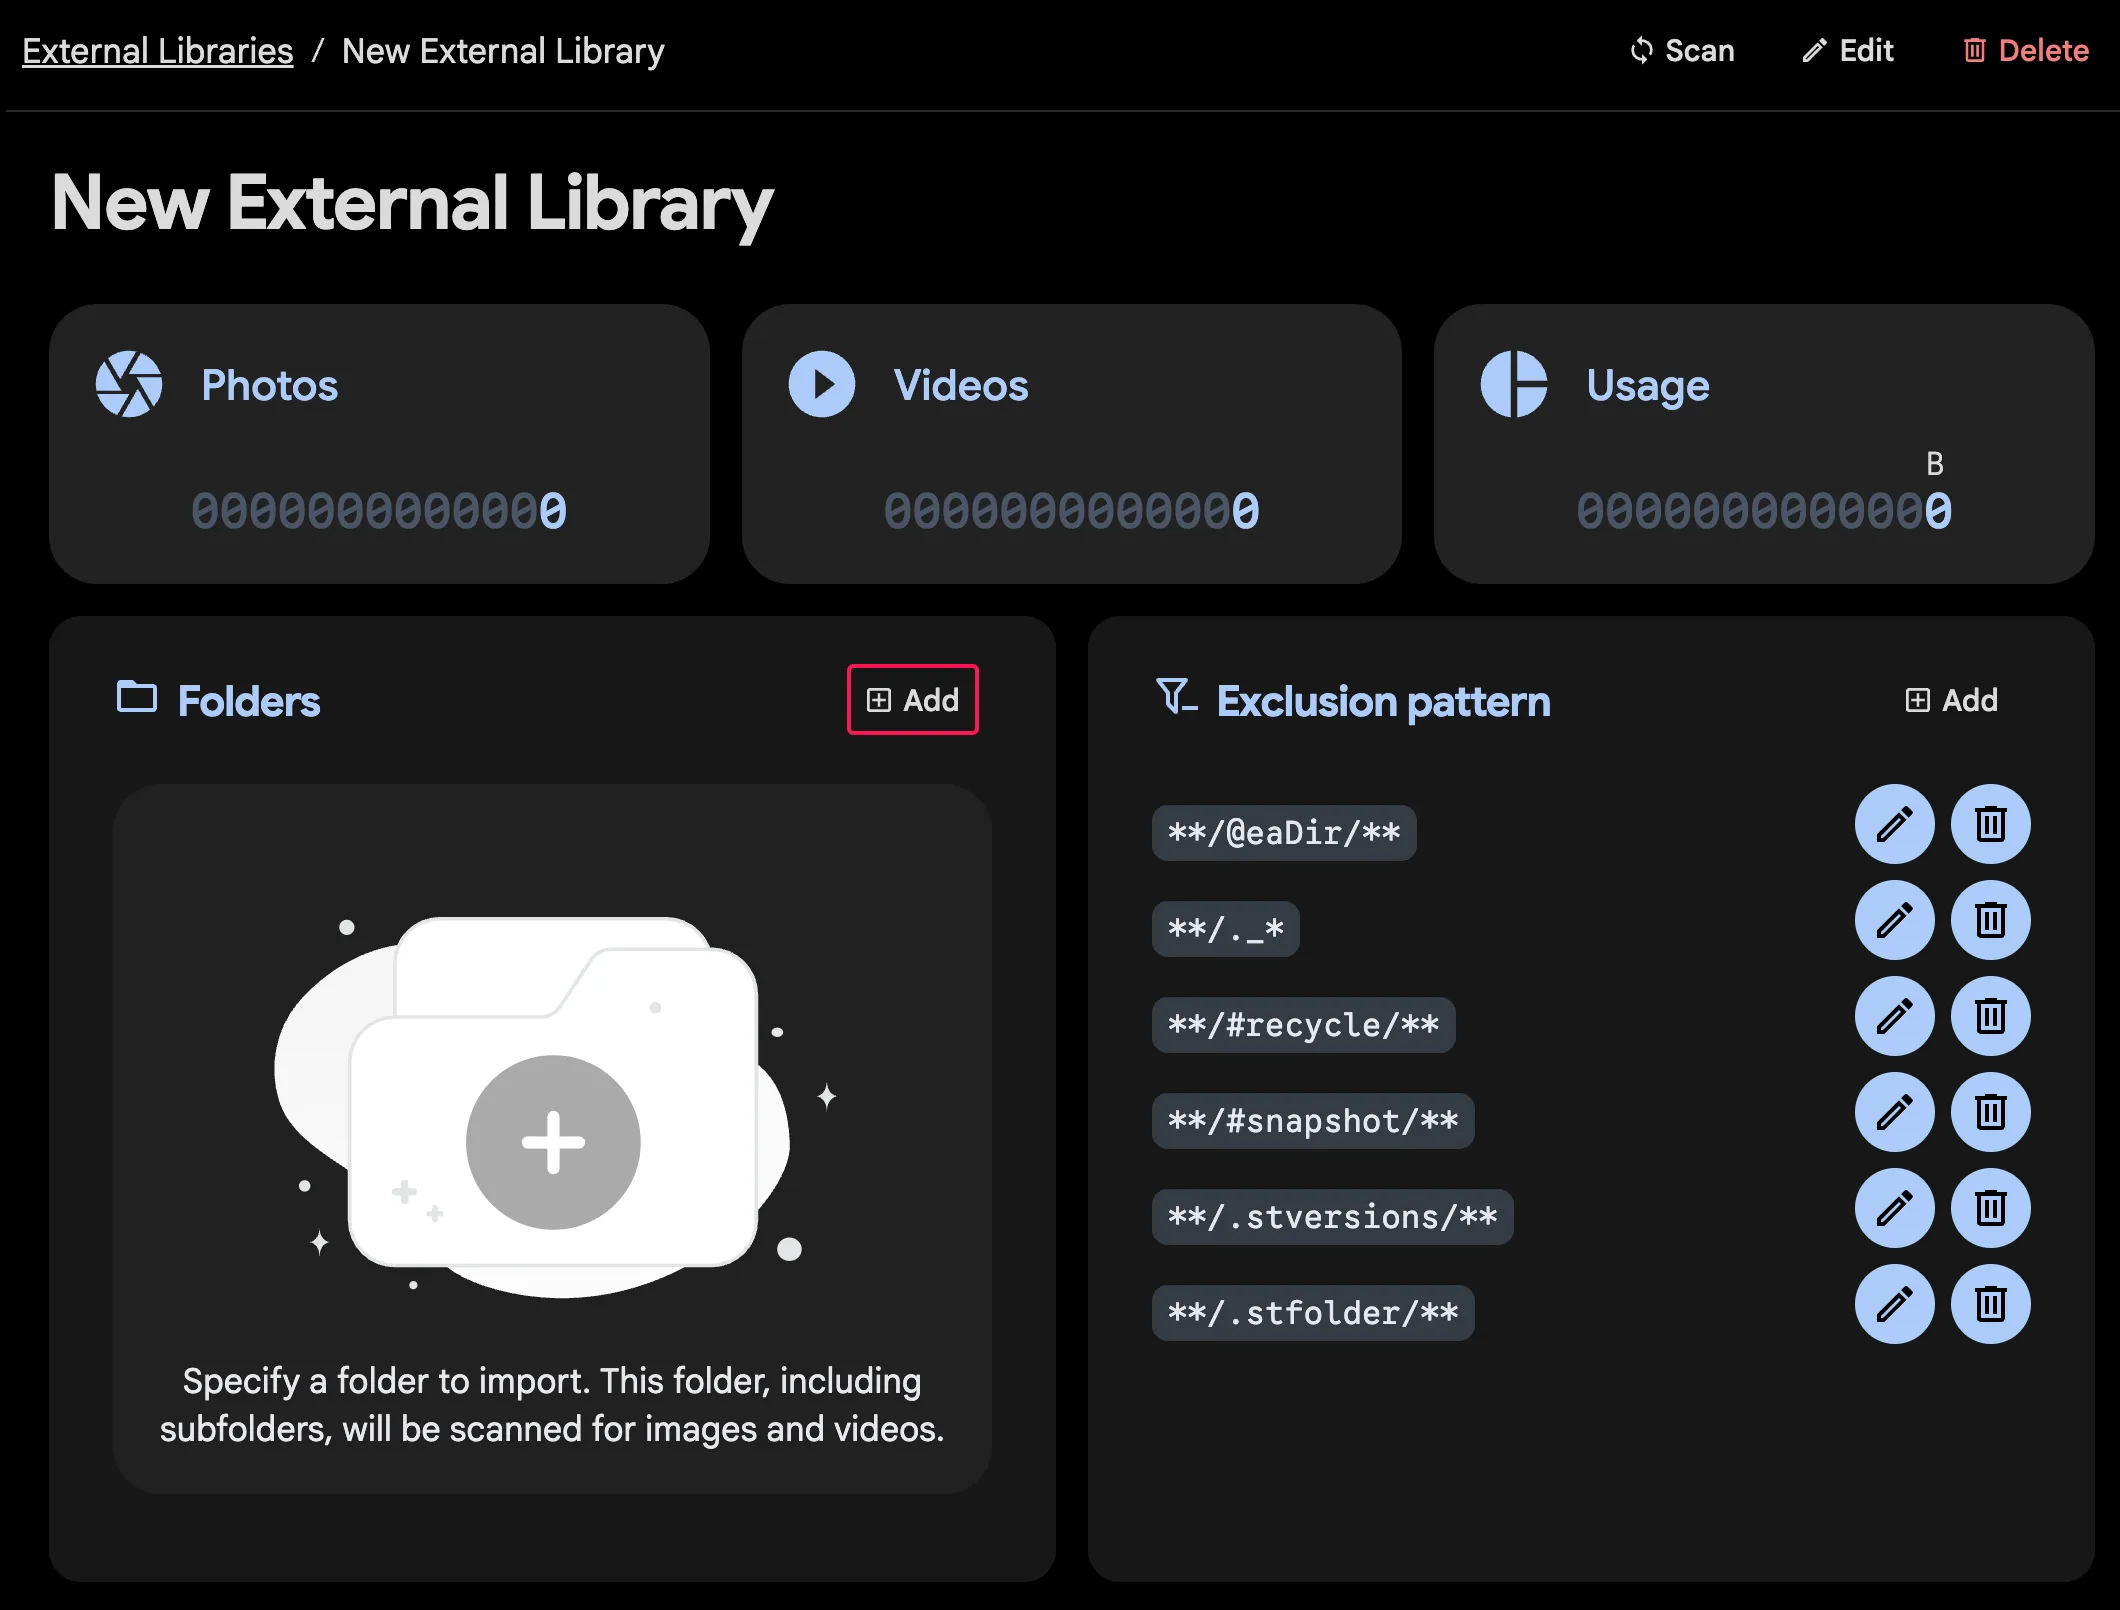
You are now on the library management page.
-
Click
Addin theFolderssection, enter/mnt/media/christmas-tripas the path, and click Add.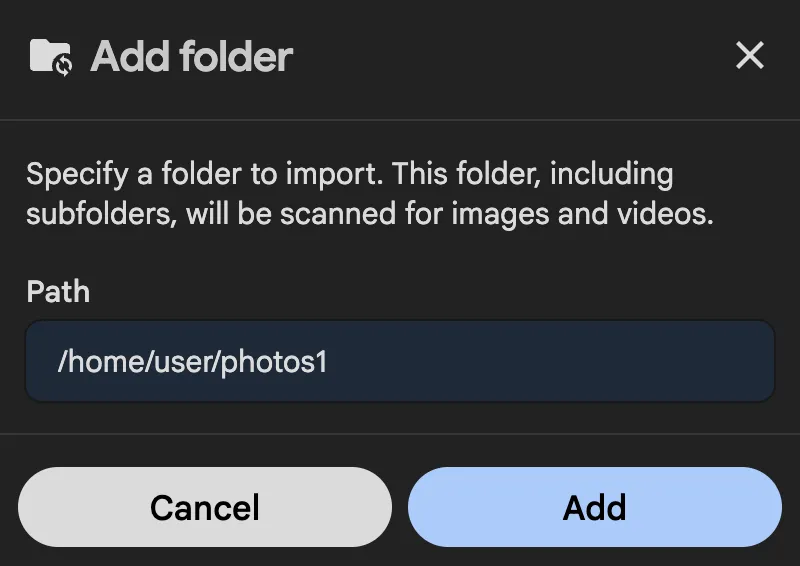
-
Click
EditLibrary and rename it to "Christmas Trip".
Use the /mnt/media/christmas-trip path and not the /mnt/nas/christmas-trip path — all paths have to be what the Docker containers see.
Step 3 - Exclude the raw files
Next, add an exclusion pattern to filter out the raw files:
- Click on
Addin theExclusion Patternssection. - Enter
**/Raw/**and click Add. - Click the three-dots menu and select Scan New Library Files.

See Exclusion patterns for the full glob syntax.
The christmas trip library will now be scanned in the background. In the meantime, let's add the videos and old photos to another library.
Step 4 - Create a second library
- Go back to
Administration -> External Libraries. - Click on
Create Library. - Select which user owns the library.
- On the library management page, click
Addin theFolderssection, enter/mnt/media/old-pics, then click Add. - Click
Addin theFolderssection again, enter/mnt/media/videos, then click Add. - Click on
Scan. - Click on
EditLibrary and rename it to "Old videos and photos".
Within seconds, the assets from the old-pics and videos folders should show up in the main timeline.
Step 5 - Confirm the scan is running
-
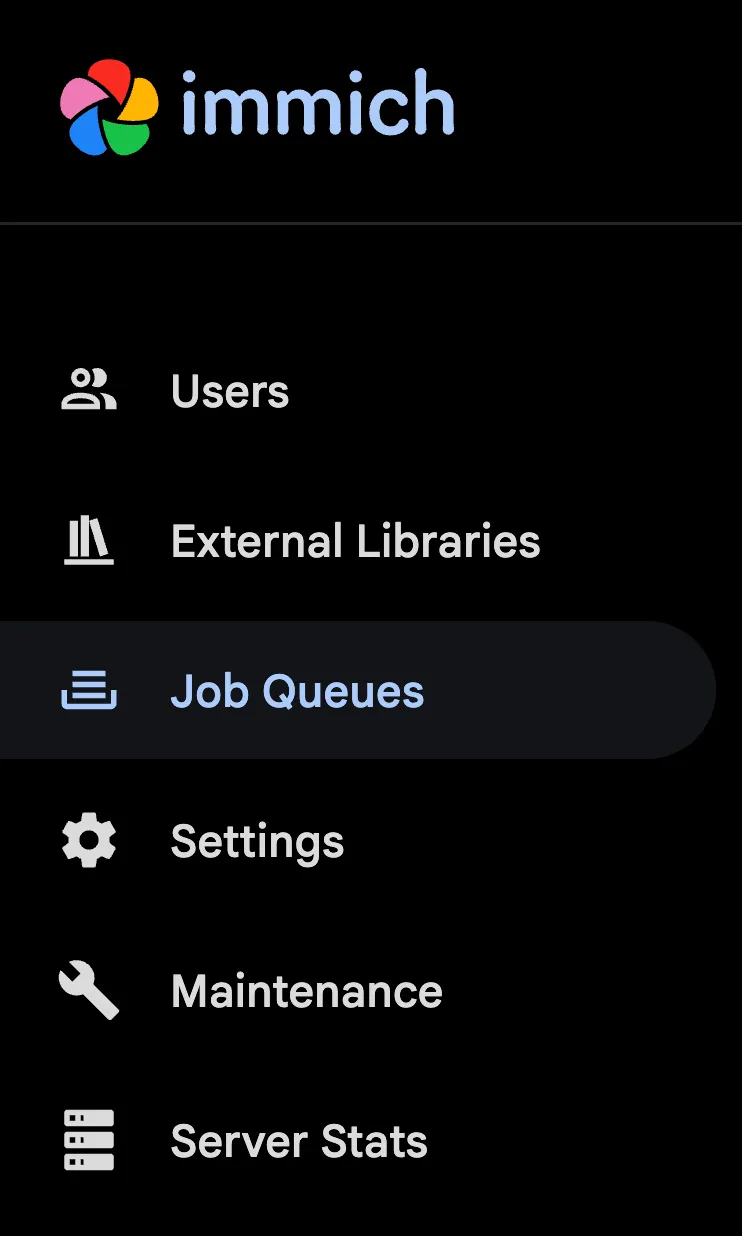
Click Administration, then select the Jobs tab.
-
You should see non-zero Active jobs for Library, Generate Thumbnails, and Extract Metadata.
Set a custom scan interval
Only an admin can do this.
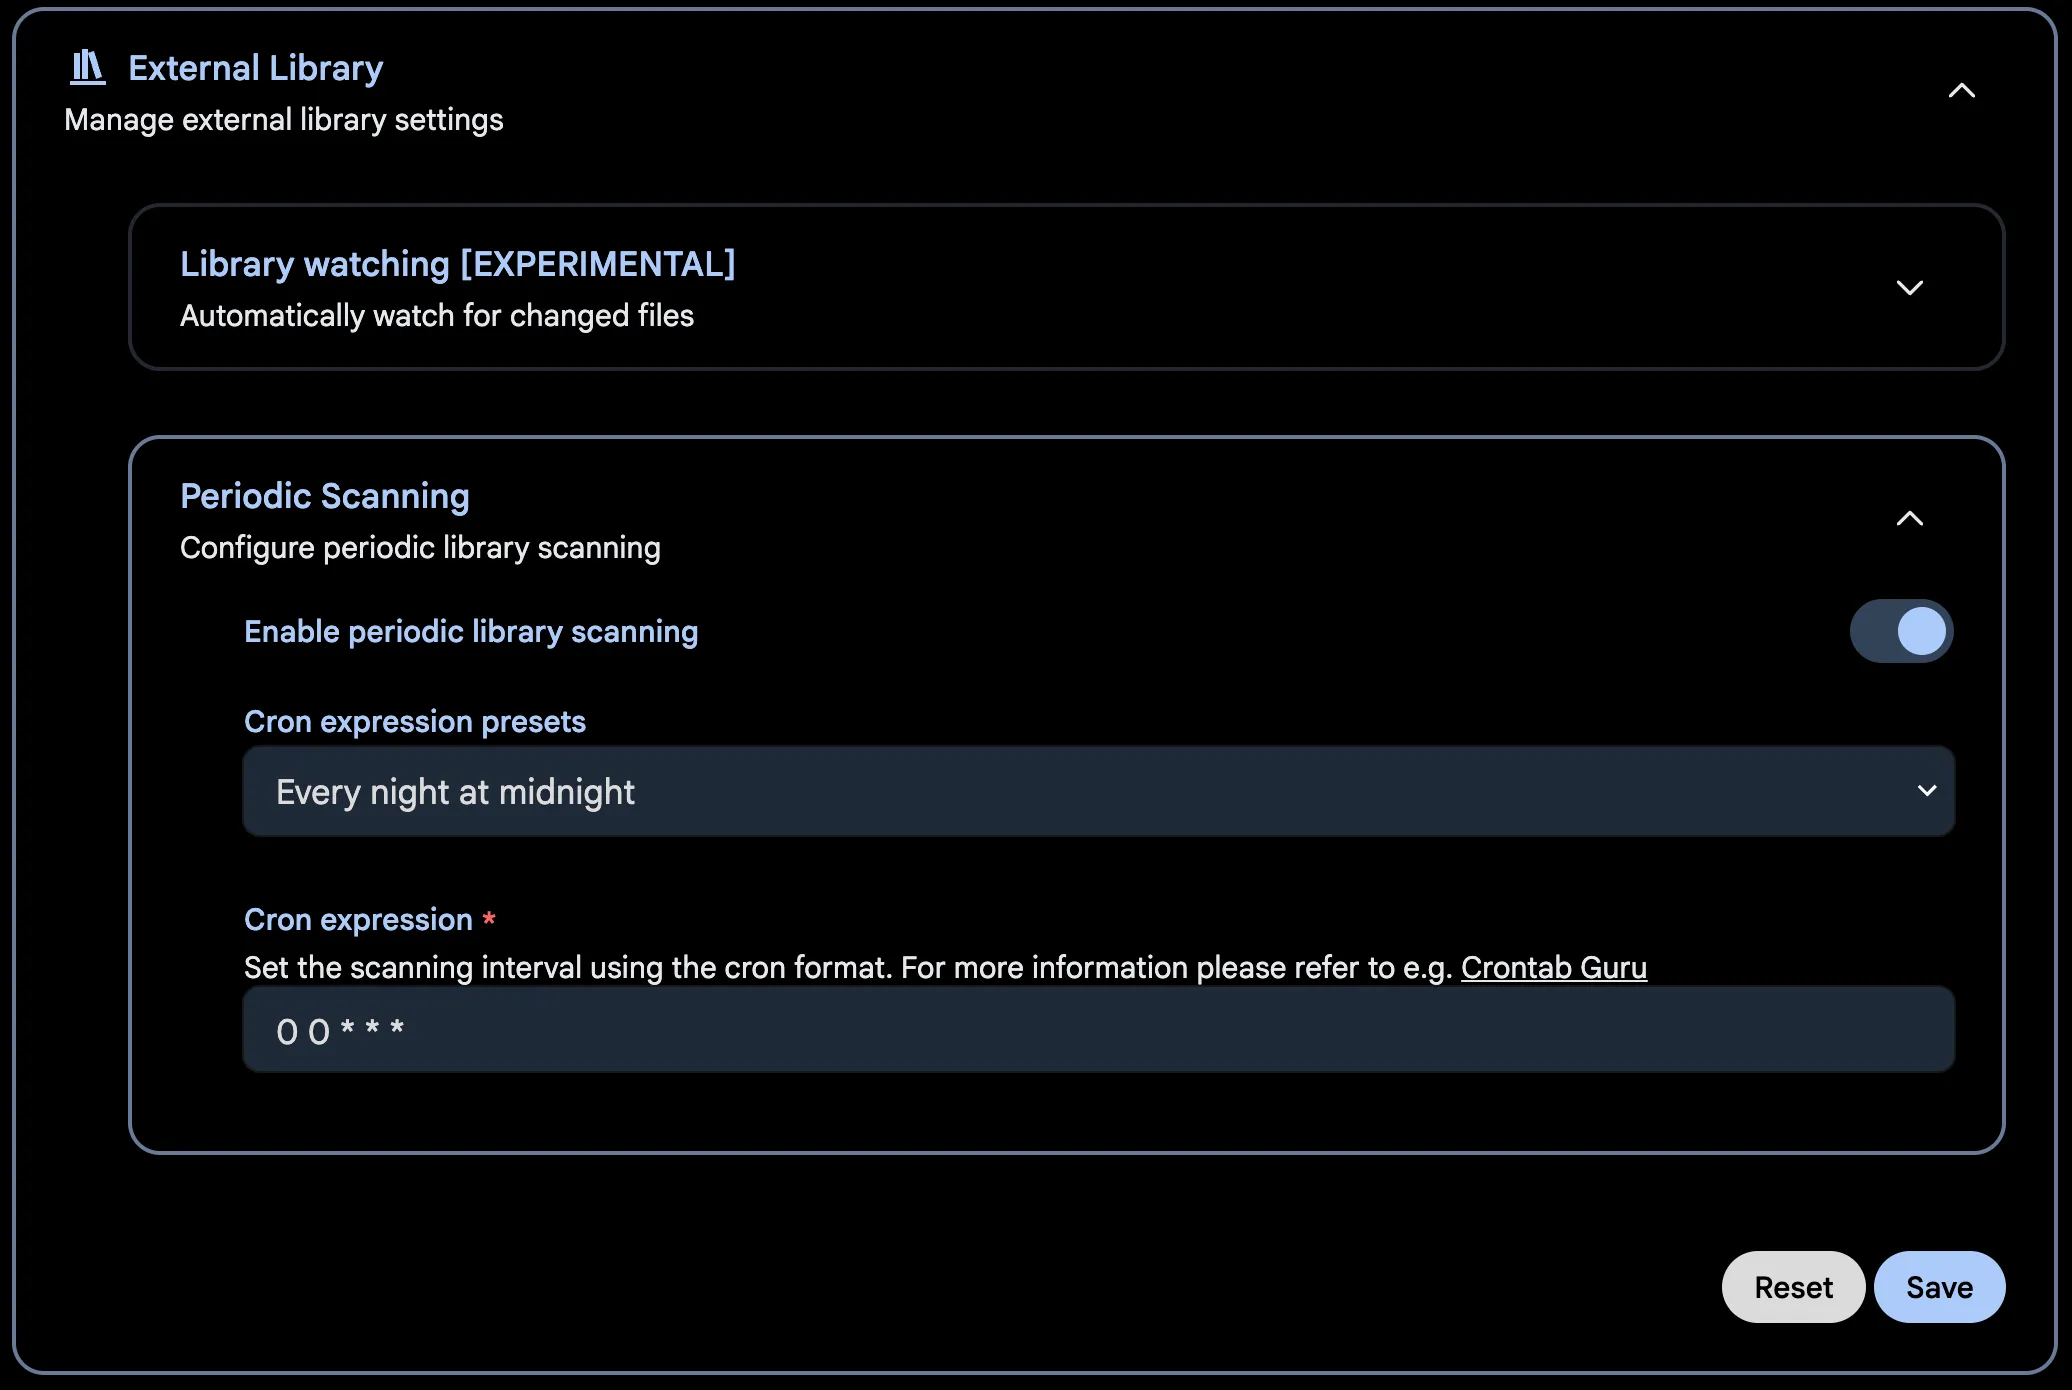
You can define a custom interval for the external library rescan under Administration -> Settings -> External Library.
You can set the scanning interval using the preset or cron format. For more information you can refer to Crontab Guru.
Browse the library as folders
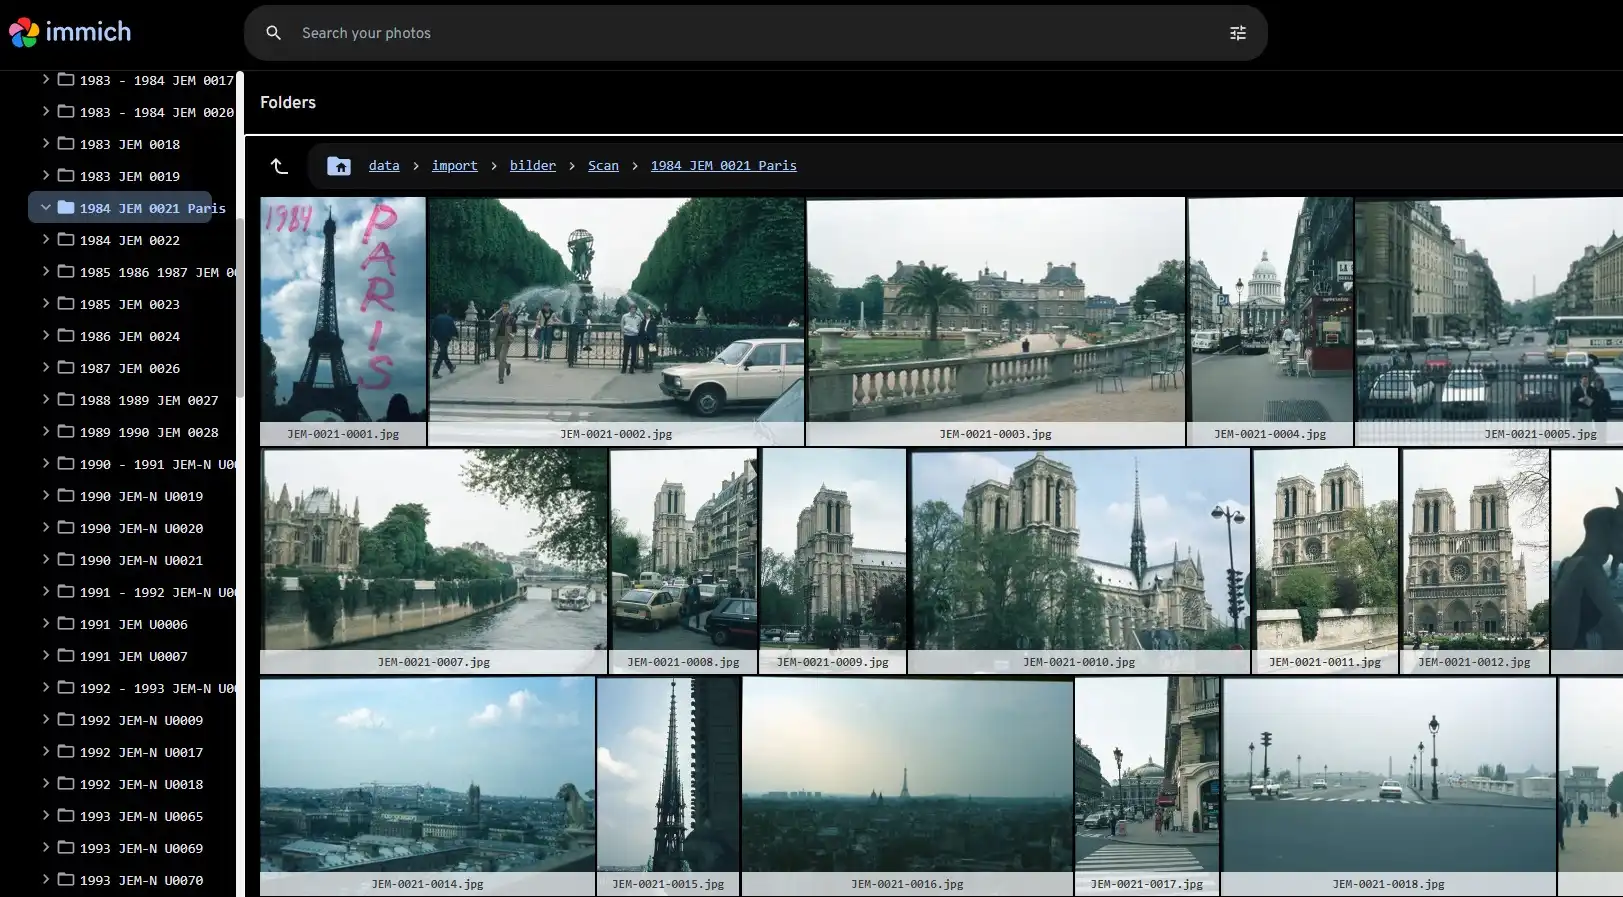
Folder view provides an additional view besides the timeline that is similar to a file explorer. It allows you to navigate through the folders and files in the library. This feature is handy for a highly curated and customized external library or a nicely configured storage template.
You can enable it under Account Settings > Features > Folders. See Folder view for details.
Troubleshooting
Sometimes, an external library will not scan correctly. This can happen if Immich can't access the files. Here are some things to check:
- In the docker-compose file, are the volumes mounted correctly?
- Are the volumes also mounted to any worker containers?
- Are the import paths set correctly, and do they match the path set in docker-compose file?
- Make sure you don't use symlinks in your import libraries, and that you aren't linking across docker mounts.
- Are the permissions set correctly?
- Make sure you are using forward slashes (
/) and not backward slashes.
To validate that Immich can reach your external library, start a shell inside the container. Run docker exec -it immich_server bash to a bash shell. If your import path is /mnt/photos, check it with ls /mnt/photos. If you are using a dedicated microservices container, make sure to add the same mount point and check for availability within the microservices container as well.