Upload media with the CLI
This guide covers uploading photos and videos to Immich from a terminal with the Immich CLI. Install it first, then come back here.
If you are looking to import your Google Photos takeout, we recommend this community maintained tool immich-go.
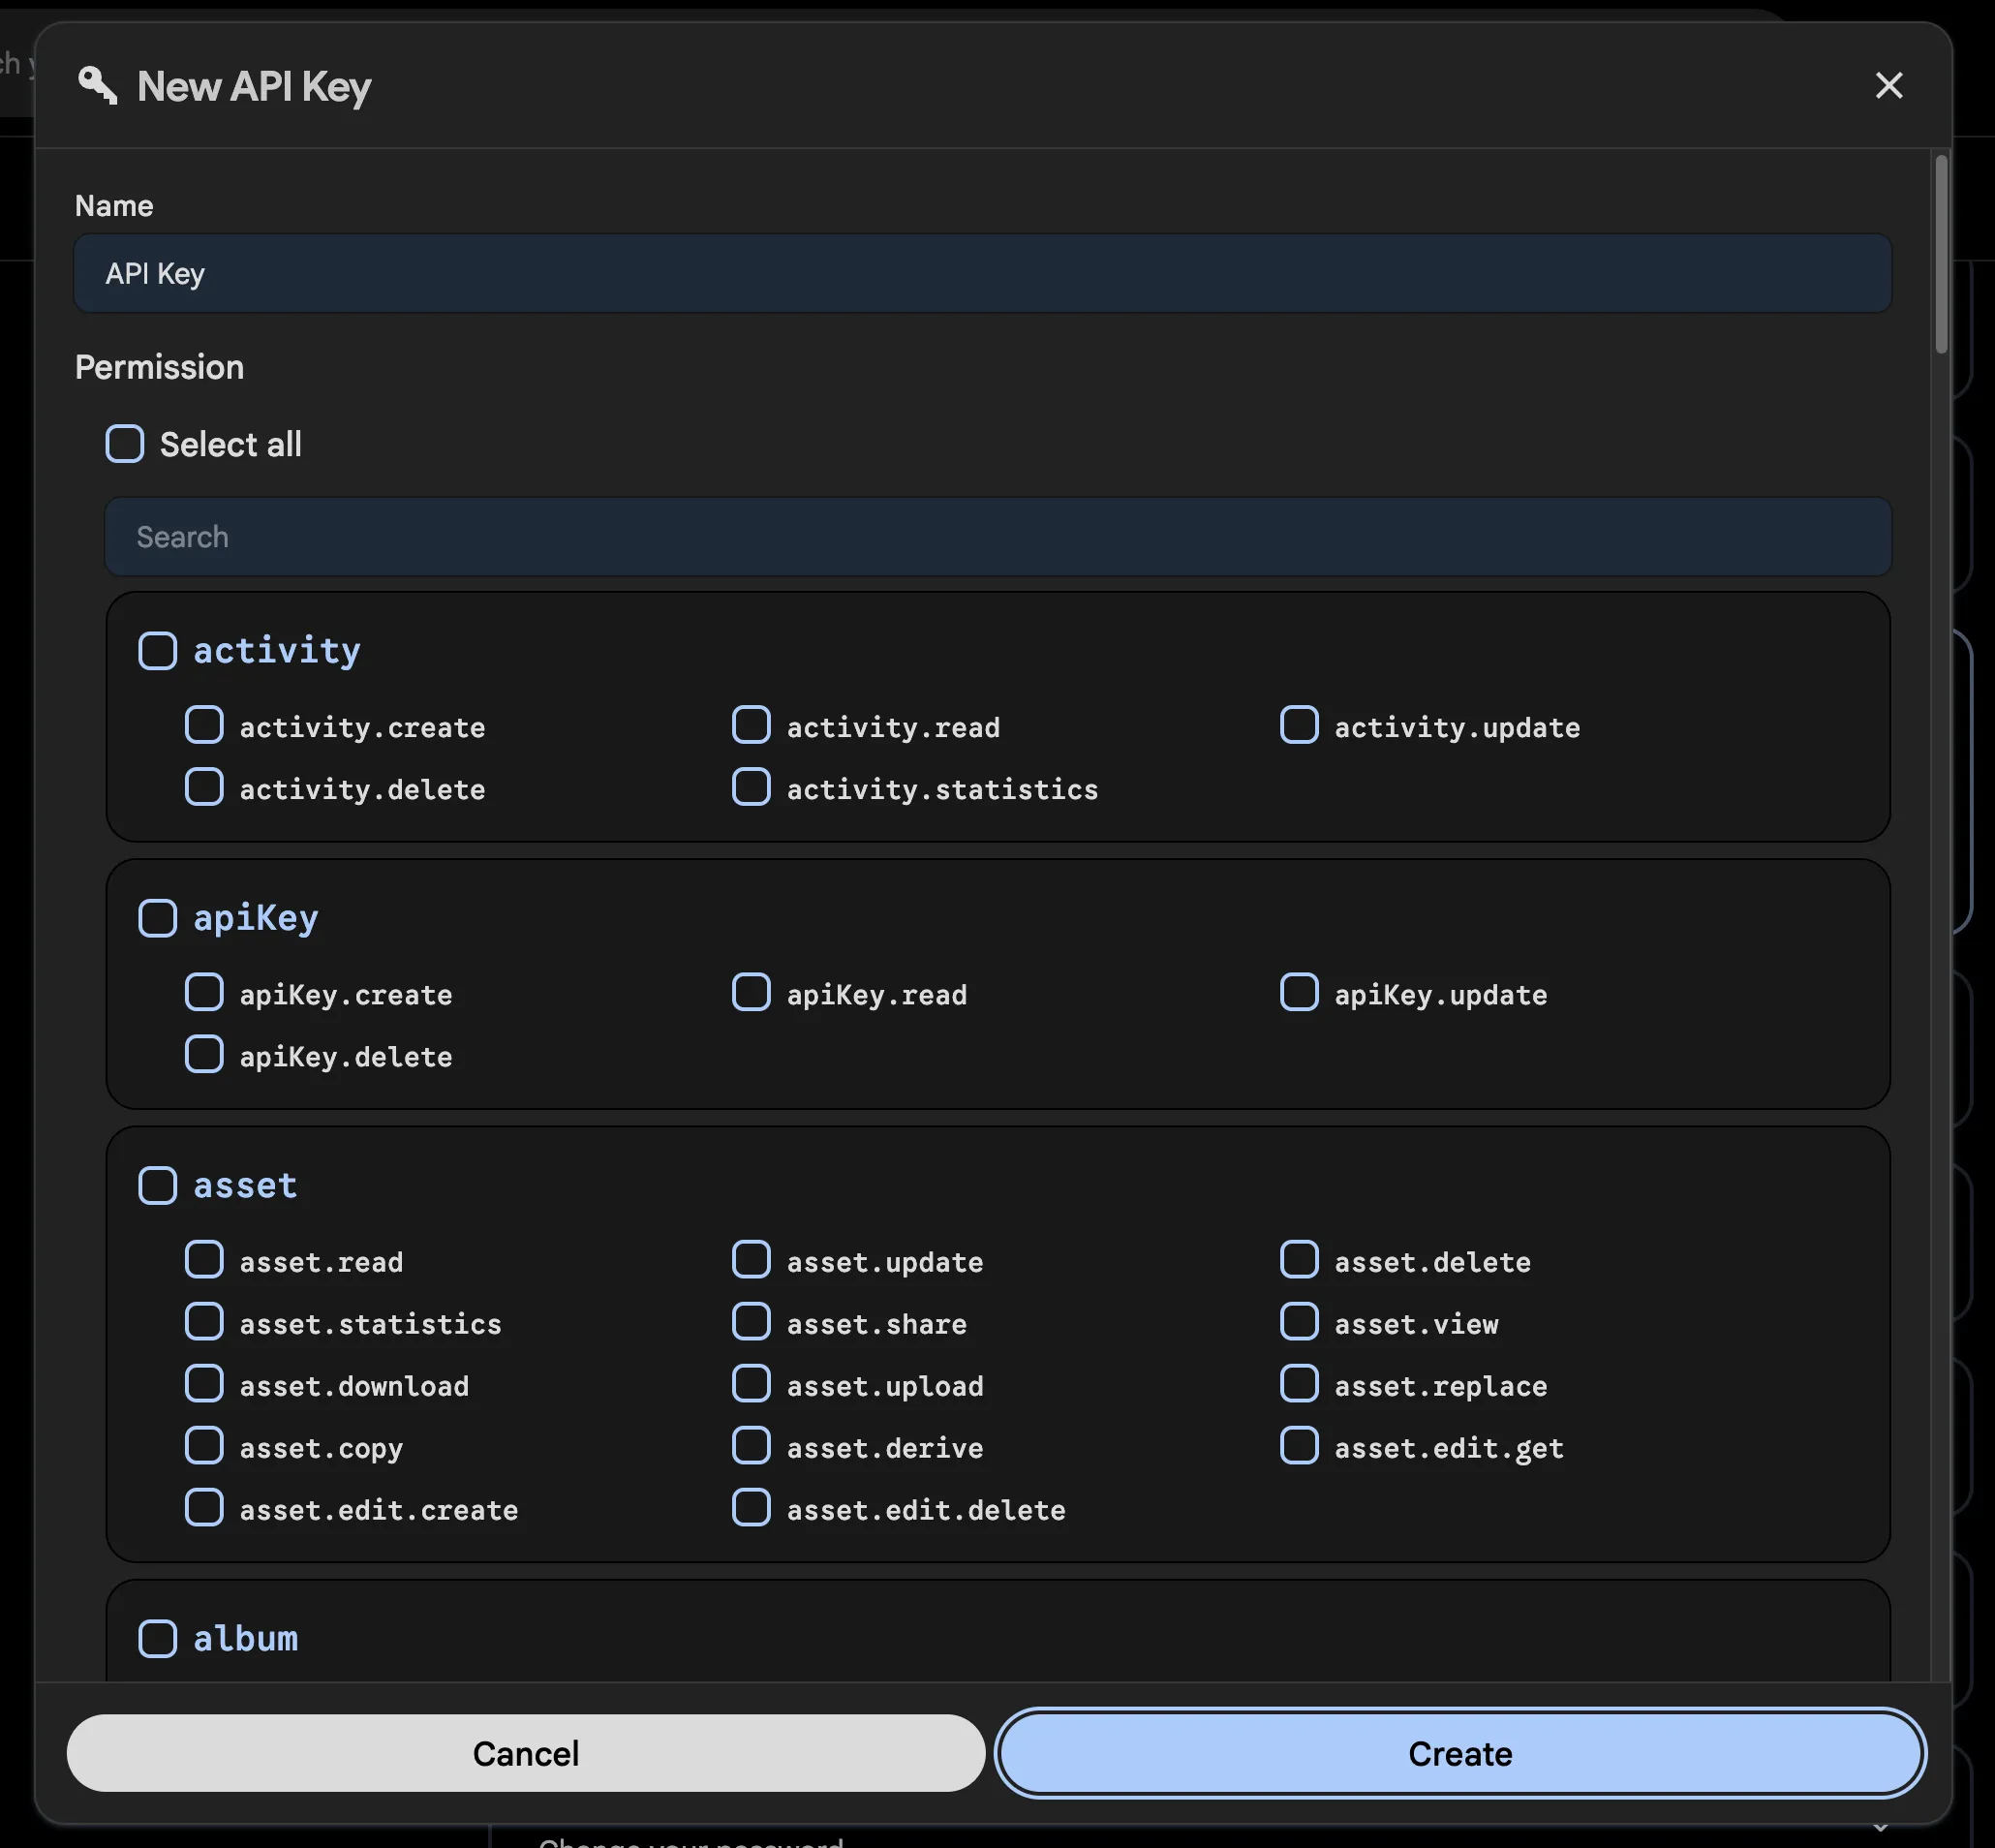
Obtain an API key
The API key can be obtained in the user setting panel on the web interface. You can also specify permissions for the key to limit its access.

Authenticate
Log in with your server URL and API key:
# immich login [url] [key]
immich login http://192.168.1.216:2283/api HFEJ38DNSDUEG
This stores your credentials in an auth.yml file in the configuration directory, which defaults to ~/.config/immich/. The directory can be set with the -d option or the environment variable IMMICH_CONFIG_DIR. Keep the file secure, either by running immich logout when you are done or by deleting it manually.
Upload individual files
immich upload file1.jpg file2.jpg
Upload a directory and its subfolders
By default, subfolders are not included. To upload a directory including subfolders, use the --recursive option:
immich upload --recursive directory/
Preview what would happen
If you are unsure what will happen, use the --dry-run option to see what would be uploaded without actually performing any actions:
immich upload --dry-run --recursive directory/
Skip hashing to upload faster
By default, the upload command hashes files before uploading them to avoid uploading the same file multiple times. If you are sure that the files are unique, you can skip this step with --skip-hash. Immich always performs its own deduplication through hashing, so this is merely a performance consideration — if you have good bandwidth it might be faster to skip hashing.
immich upload --skip-hash --recursive directory/
Create albums from folder names
--album creates an album for each uploaded asset based on the name of the folder it is in:
immich upload --album --recursive directory/
To put everything into one specific album instead, use --album-name:
immich upload --album-name "My summer holiday" --recursive directory/
Skip files matching a pattern
--ignore skips assets matching a glob pattern. See Exclusion patterns for how to write glob patterns. You can add several exclusion patterns if needed.
immich upload --ignore **/Raw/** --recursive directory/
immich upload --ignore **/Raw/** **/*.tif --recursive directory/
Include hidden files
By default, hidden files are skipped:
immich upload --include-hidden --recursive directory/
Set the visibility of uploaded assets
You can set the visibility of uploaded assets to archive, timeline, hidden, or locked:
immich upload --visibility archive --recursive directory/
Post-process the results as JSON
The --json-output option prints JSON with three keys: newFiles, duplicates and newAssets. Due to some logging output you need to strip the first few lines of output to get at the JSON. For example, to get a list of files that would be uploaded for further processing:
immich upload --dry-run --json-output . | tail -n +6 | jq .newFiles[]
Run the CLI from Docker
If npm is not available on your system, you can use the Docker image instead:
docker run -it -v "$(pwd)":/import:ro -e IMMICH_INSTANCE_URL=https://your-immich-instance/api -e IMMICH_API_KEY=your-api-key ghcr.io/immich-app/immich-cli:latest
Modify the IMMICH_INSTANCE_URL and IMMICH_API_KEY environment variables as appropriate. You can also use a Docker env file to store your sensitive API key.
This docker run command runs the immich command inside the container, so you can append the desired parameters directly to the command line:
docker run -it -v "$(pwd)":/import:ro -e IMMICH_INSTANCE_URL=https://your-immich-instance/api -e IMMICH_API_KEY=your-api-key ghcr.io/immich-app/immich-cli:latest upload -a -c 5 --recursive directory/